


Artist Alley Checklist: Merch, Inventory, Display & Logistics
Preparing for Artist Alley involves more than choosing attractive merchandise. A seller needs the right product mix, realistic inventory, readable pricing, safe displays and enough time for production and shipping.
Use this Artist Alley checklist as a planning tool for anime conventions, comic conventions, creator markets and small art events.

1. Confirm the event requirements
Before ordering merchandise, read the event rules.
Check:
- Table size
- Number of badges included
- Display height limits
- Rules for backdrops and grid walls
- Electricity availability
- Prohibited products
- Fan-art and intellectual-property policies
- Sales tax or seller permit requirements
- Setup and breakdown schedule
- Shipping or loading access
Do not design a tall display before confirming the allowed height. Do not order event-specific inventory until the application and booth details are secure.
2. Define the audience
Ask:
- Is the convention focused on anime, games, comics, furry art or general pop culture?
- Which characters or original series does your audience already follow?
- Do buyers prefer collectibles, practical products or apparel?
- What price range performed well at previous events?
Social engagement can provide ideas, but purchase history, preorders and prior convention sales are stronger demand signals.
3. Build a three-tier product mix
A balanced booth usually includes several price and size levels.
Quick-grab products
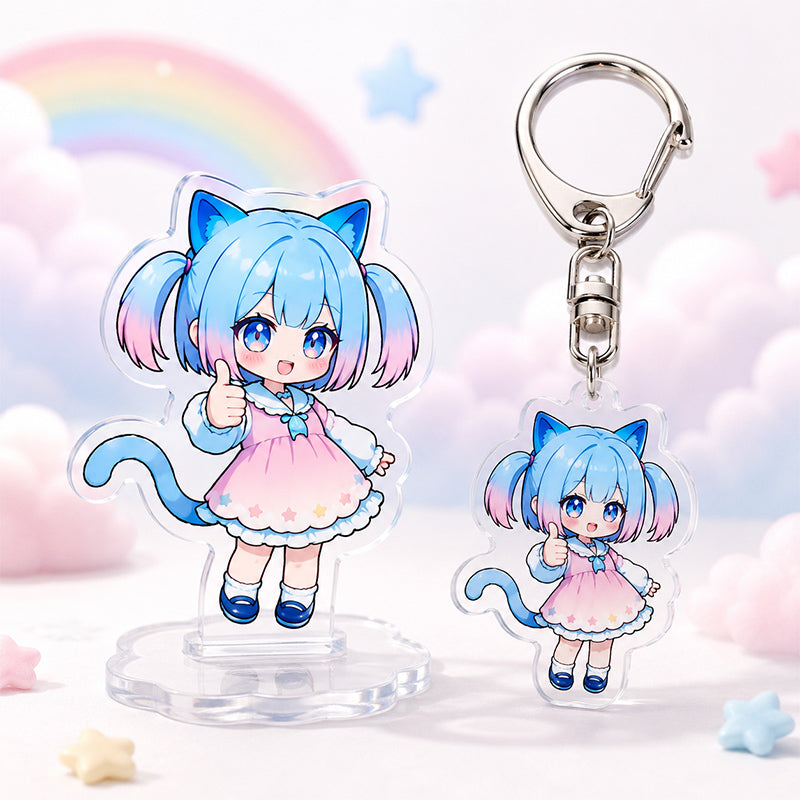
Acrylic keychains, small charms, badges, mini pillow keychains and small prints are easy to browse and can represent many characters.
Table favorites
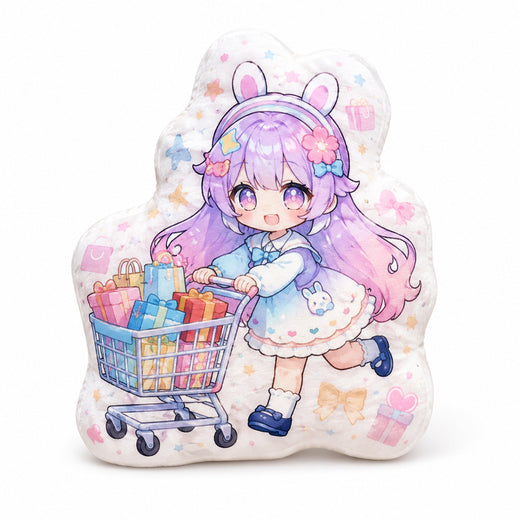
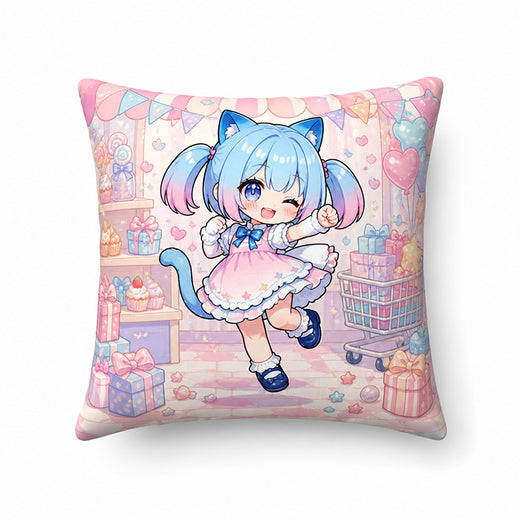
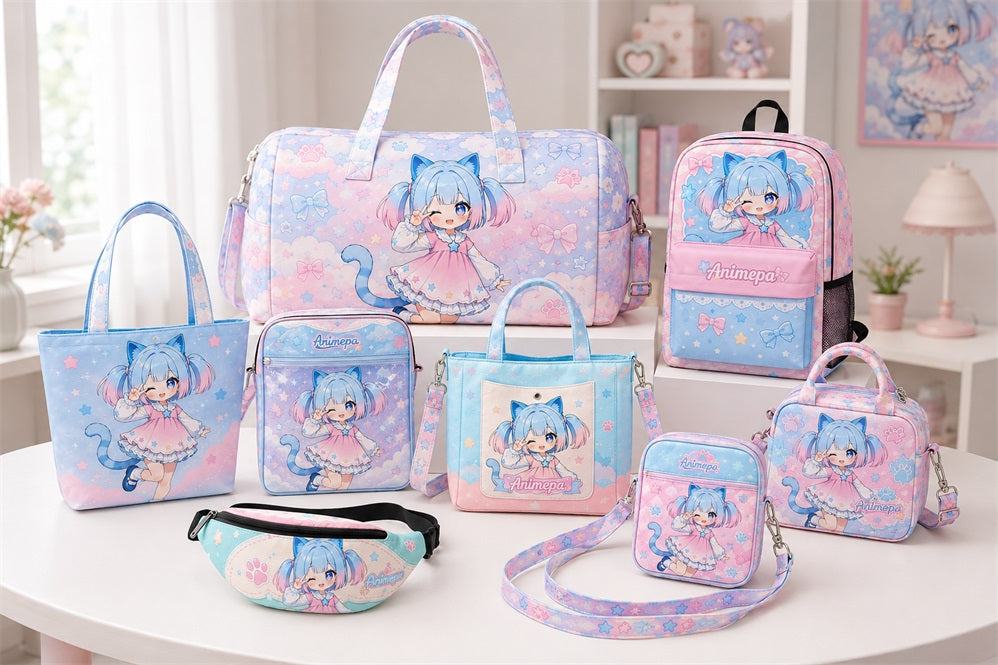
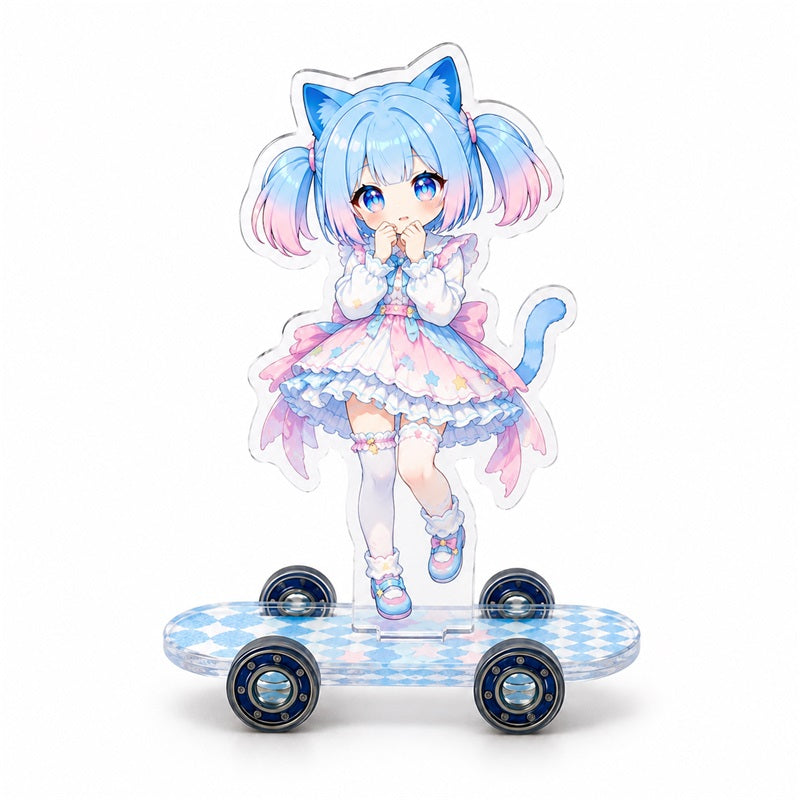
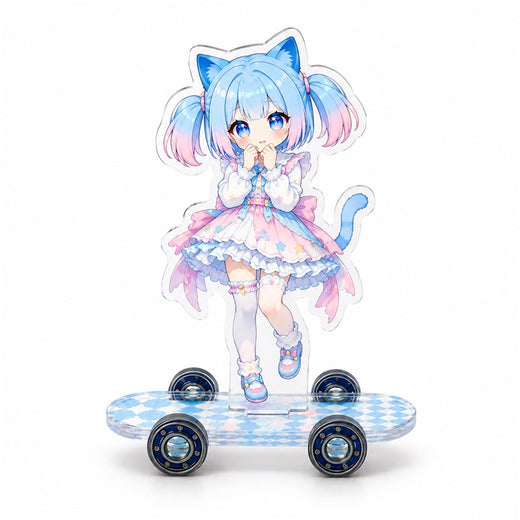
Acrylic standees, tote bags, mouse pads, small shaped pillow covers and towels create variety without dominating the entire display.
Statement products
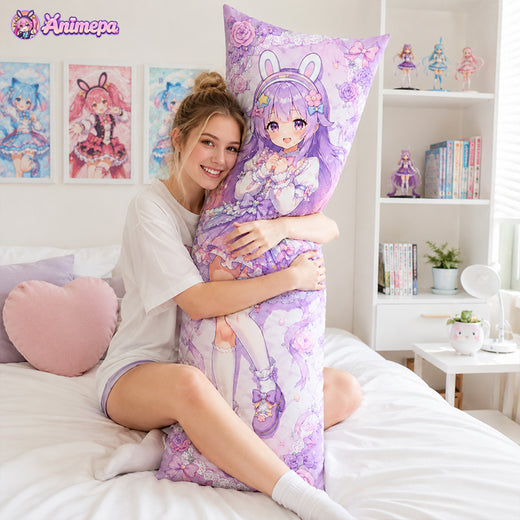
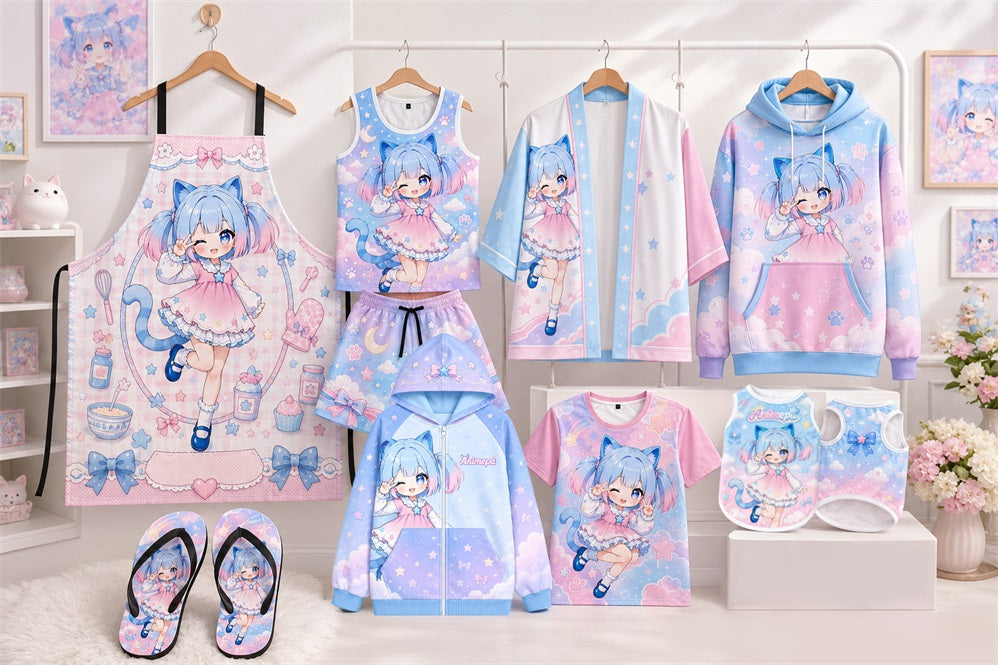
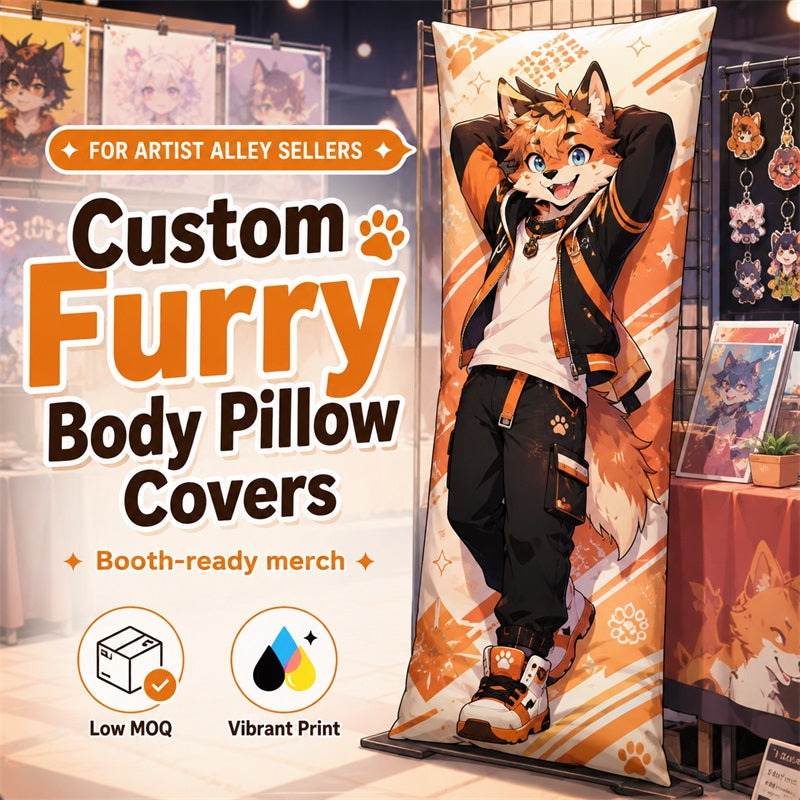
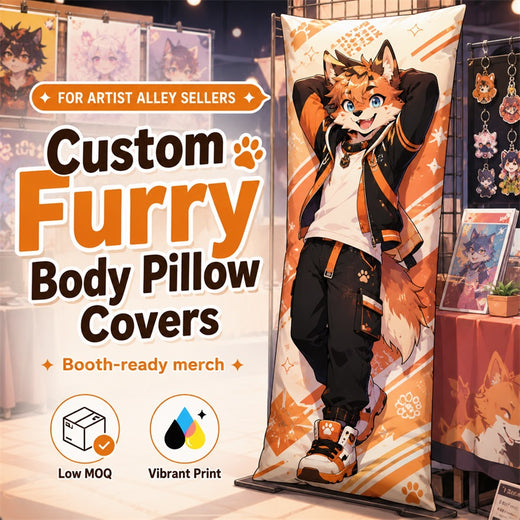
Large desk mats, wall scrolls, apparel, blankets and dakimakura covers attract attention but require more display, transport and customer budget. Carry them selectively.
Browse Animepa’s custom merchandise collection when comparing product categories. The high-margin lifestyle merch guide explains how to evaluate larger products beyond acrylics and prints.
4. Plan inventory by design
“Twenty keychains” is not a complete inventory plan. Record which designs and quantities make up those twenty.
| Design | Opening quantity | Reorder priority |
|---|---|---|
| Proven character A | 6 | High |
| Proven character B | 5 | High |
| New character C | 3 | Medium |
| New character D | 3 | Medium |
| Experimental design E | 1 | Low |
| Experimental design F | 2 | Low |
Use deeper inventory for designs with sales evidence. Use smaller quantities for untested work.
Animepa supports multiple designs within the same-product total MOQ. If a selected product has an MOQ of five, the five units may use five different artwork designs at one piece each. Different product categories cannot be combined to reach one MOQ, and size, material or process may affect the production setup.
The independent artist merch business guide includes a wider launch and budgeting framework.
5. Prepare print-ready artwork
For every product, confirm:
- Correct template
- Final dimensions
- Resolution
- Bleed
- Safe areas
- Transparent background where required
- Cutline for shaped products
- Front and reverse files
- File naming
Use numbered filenames such as 01-character-name-front.psd, 01-character-name-back.psd and 02-character-name-front.psd. Match those filenames to the quantity sheet and mockup approval.
6. Order around the event deadline
Work backward from the convention date.
Allow time for:
- Artwork corrections
- Digital mockups
- Physical sample if needed
- Production
- Quality inspection
- International shipping
- Customs or carrier delays
- Local unpacking and labeling
Do not plan around the fastest possible estimate. Share the event date, destination country and postal code before placing the order.
7. Design a readable booth
Visitors may only look at the table for a few seconds.
Create clear zones for new releases, proven characters, acrylic products, functional merchandise, large display products and checkout.
Use boards, grids or stands for keychains, standees and signs where event rules allow. Group related artwork and keep pricing visible. Use one wall scroll, blanket, large mouse pad or pillow sample as a visual anchor rather than displaying every large item.
8. Make pricing easy to understand
Show:
- Individual price
- Bundle price
- Product size
- Whether a pillow is cover only
- Available variants
- Accepted payment methods
Avoid making customers ask for every price. Clear signs make the booth easier to browse when you are already helping someone else.
Calculate retail prices from the full landed cost: product, packaging, shipping, import costs, payment fees, convention fees and an allowance for defects or discounts.
9. Prepare packaging and transport
Bring:
- Protective bags
- Backing cards where needed
- Thank-you cards
- Shopping bags
- Price labels
- Tape and scissors
- Cleaning cloth
- Spare display hardware
- Inventory containers
- Weather protection if loading outdoors
Keep large fabric products folded and protected. Keep acrylic products separated to reduce scratches. Use an inventory count sheet for setup and closing.
10. Set up payments and checkout
Confirm cash float, card reader, mobile payment options, internet requirements, receipt method and refund or exchange policy.
Place the checkout area where it does not block browsing. Keep high-value stock and cash secure.
11. Track sales during the event
Record:
- Product
- Design
- Size
- Quantity sold
- Time of day
- Customer requests
- Products visitors asked for but could not buy
This information is more useful than remembering that the booth “felt busy.”
12. Review after the convention
Within a few days:
- Count remaining inventory
- Calculate revenue and costs
- Identify proven designs
- Note display problems
- List requested products and sizes
- Photograph remaining merchandise
- Add suitable stock to the online shop
- Plan targeted reorders
Avoid restocking every product equally. Reorder the specific designs and variants supported by sales.
Final Artist Alley packing checklist
Prepare convention merchandise with Animepa
Animepa is a factory-direct custom anime and game merchandise manufacturer supporting artists, convention sellers, VTubers, online shops and brands.
Many regular products support low-MOQ production, often starting from five pieces where applicable. Multiple designs can share the same-product total, while different products must meet their own minimums.
Explore custom anime merchandise, learn more about Animepa, or contact the team with your event date, product plan, quantities and artwork.


Hinterlassen Sie einen Kommentar